 Blaine Siding
 New-Construction Windows Built for Sandy Point
Sandy Point sits out on its own stretch of Whatcom County shoreline near Blaine, close enough to the water that salt air, wind, and driving rain are part of daily conditions rather than an occasional storm event. That matters most on new-construction projects, because a new-construction window installation is a full nail-fin unit set directly into open wall framing, integrated with house wrap and flashing before the siding ever goes on. Get that sequence right and the window becomes part of a sealed wall assembly built to handle Sandy Point's exposure. Get it wrong, and the mistake gets sealed up behind siding for years before anyone notices.
We work new-construction and remodel window projects across Blaine and the surrounding Whatcom County coastline, and Sandy Point is regular territory for our crew. This page is specifically about new-construction window installation for homes being built or substantially reframed out there — not a general window replacement page. The framing stage is the one chance to build the water management right the first time, and it's worth doing carefully in a location that takes this much direct exposure off the water.
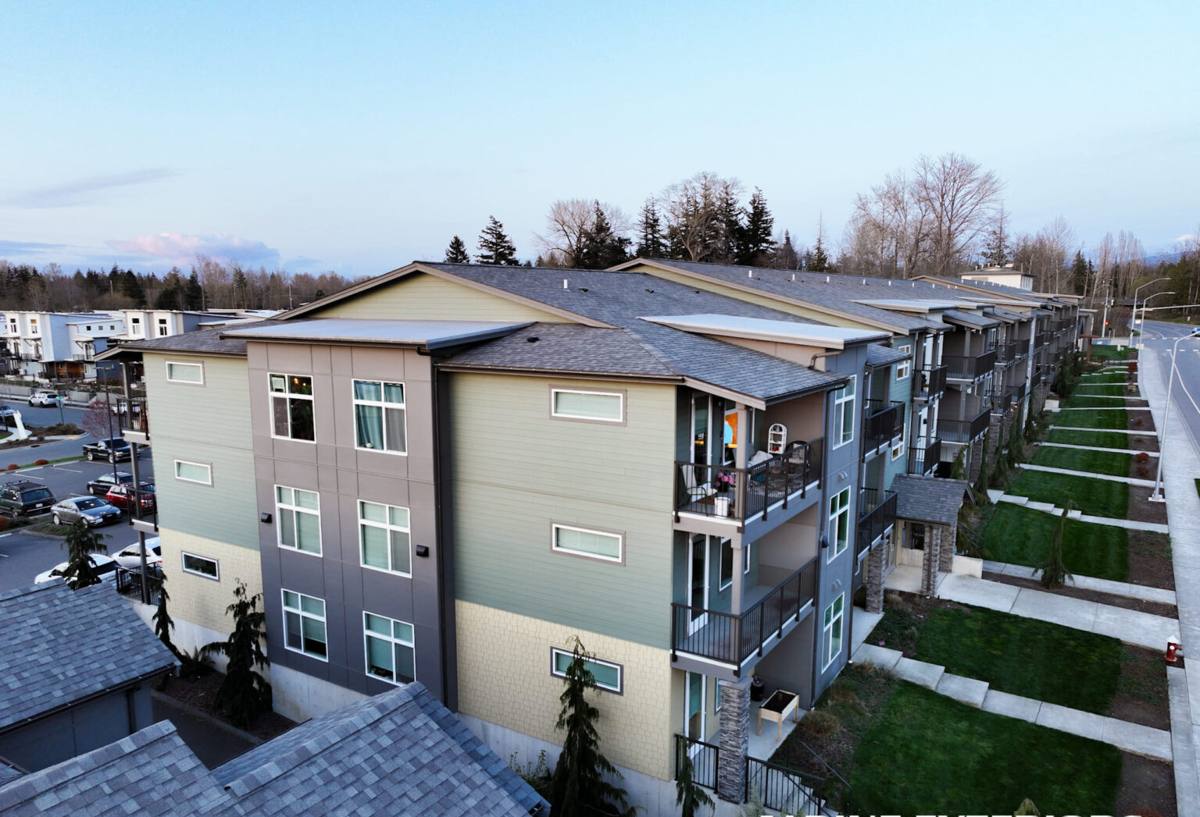
What Sandy Point's Climate Asks of a New Window Installation
Salt Air on Exposed Framing and Hardware
During new construction, window openings, flashing, and fasteners sit exposed to the weather for longer than they will at any other point in the building's life, and Sandy Point's salt-laden air starts working on unprotected metal from day one. Fastener choice and flashing material matter more on an oceanfront-adjacent build like this than they would on an inland lot, because corrosion that starts during the build phase doesn't stop once the siding goes on — it just goes on working out of sight.
Driving Rain Off the Water
Storms coming off the water at Sandy Point don't fall straight down; wind drives rain sideways into any gap in a wall assembly, and a window opening is the single biggest gap in any wall. During framing, before siding closes everything up, that wind-driven rain has a direct path to the sheathing and framing if flashing sequencing isn't followed correctly. This is the main reason new-construction window flashing detail is treated as structural work here, not a finishing touch.
A Long Moss and Moisture Season
Mild temperatures and near-constant humidity give moss and mildew a growing season that runs most of the year on shaded and north-facing walls. That doesn't affect the glass or frame directly, but it does affect the wall assembly around a window opening — sill pans and flashing details that don't shed water fully leave damp wood framing that stays wet longer in this climate than it would inland, and that's exactly the kind of slow moisture problem that shows up as soft trim or staining a few years down the road.
Why New-Construction Windows Are a Different Job Than Replacements
New-construction and replacement windows solve different problems, and confusing the two on a project spec is one of the more common ways a job goes wrong.
- Full nail-fin frame: A new-construction window has an attached flange around the perimeter of the frame that gets fastened directly to the wall sheathing and integrated into the house wrap and flashing system.
- Installed into open framing: The opening is bare studs and sheathing, not an existing frame, so the installer controls the entire water management sequence from sheathing out.
- Sequenced with house wrap: Flashing tape, sill pans, and house wrap laps all have to go in a specific order relative to the window itself, not layered on afterward.
- One shot to get it right: Once siding closes the wall, correcting a flashing mistake means opening the wall back up. A replacement window, by contrast, works within an existing frame and can be serviced without touching the wall assembly.
On a Sandy Point build, that one-shot nature is exactly why we treat the flashing sequence as non-negotiable rather than something to move quickly through to keep a framing schedule on track.
What a Correct Installation Involves
Sill Pan First
Before the window ever goes into the opening, a sloped sill pan goes down at the bottom of the rough opening so that any water that does get past the window sheds back outward instead of pooling on the sill and soaking into the framing below. On a site this exposed to wind-driven rain, skipping or shortcutting the sill pan is one of the more common causes of hidden rot we see traced back to new construction.
Correct Flashing Shingle-Lap Order
Every layer — sill pan, house wrap, window flange, and flashing tape at the head and sides — has to lap the one below it like shingles on a roof, so water is always directed down and out rather than trapped behind a layer above it. Reversing even one lap gives water a path inward that won't show up as a visible problem until it's already done damage.
Head Flashing With a Drip Cap
The top of the window opening needs flashing that kicks water outward and away from the wall rather than letting it run straight down the face of the siding and back toward the window trim. This detail matters more on walls that catch driving rain directly off the water, which describes most of Sandy Point's shoreline-facing elevations.
Correct Fastening Into Structural Framing
Nail-fin windows need to be fastened per the manufacturer's schedule into solid framing, with corrosion-resistant fasteners given the salt air exposure. Under- or over-driven fasteners can distort the frame enough to affect how the sash operates for the life of the window, which is a problem no amount of caulking fixes later.
- Sloped sill pan installed and tested before the window goes in
- House wrap and flashing tape lapped in correct shingle order at sill, sides, and head
- Drip cap or head flashing directing water outward at the top of the opening
- Corrosion-resistant fasteners set per manufacturer spec, into solid framing
- Window checked for square, level, and plumb before final fastening
- Rough opening gap insulated or sealed per code, without over-packing that can bow the frame
- Exterior sealant applied only where the manufacturer's instructions call for it, not as a substitute for correct flashing
Frame Material and Glass Choices for a Water-Exposed Site
Frame material and glass package both affect how a new-construction window holds up on an exposed site like Sandy Point, separate from how well it's installed.
| Factor | What to Consider | Sandy Point Consideration |
|---|---|---|
| Frame material | Vinyl, fiberglass, or clad-wood, each with different maintenance and expansion behavior | Material stability under repeated wet-dry cycling and salt exposure |
| Glass package | Double vs. triple pane, low-E coatings, gas fill | Condensation resistance in a consistently humid, cooler coastal climate |
| Hardware and fasteners | Corrosion resistance of hinges, locks, and installation fasteners | Salt air accelerates corrosion on lower-grade hardware faster than inland sites |
| Flashing and sill pan materials | Compatibility with house wrap and long-term UV and moisture exposure | Materials facing direct sun and rain off the water need to hold up without embrittling |
None of these choices fix a bad installation, and a well-chosen window installed with a shortcut flashing sequence will still leak eventually. But on a site this exposed, choosing corrosion-resistant hardware and a frame material that handles wet-dry cycling well is worth the conversation before the order goes in, not after the windows arrive.
How We Approach a Sandy Point New-Construction Window Job
We start with the rough openings and framing plan before a single window shows up on site, because window sizing, header height, and rough opening tolerances all need to be right before installation day. From there:
- Confirm rough openings against the ordered window sizes and manufacturer's installation instructions
- Install sloped sill pans at every opening before house wrap goes up around them
- Sequence house wrap and flashing tape in correct shingle-lap order at each window
- Set and fasten each window square, level, and plumb per the manufacturer's fastening schedule
- Install head flashing or drip caps before siding closes the wall
- Photograph flashing details at each opening before they're covered, so there's a record of what's behind the finished wall
That last step matters on a project where the water management details end up permanently hidden once siding goes on. It's a simple thing, but it's the difference between a homeowner who can only take our word for what's behind the wall and one who has an actual record of it.
Cost Factors for New-Construction Windows at Sandy Point
| Factor | What Drives It | Sandy Point Consideration |
|---|---|---|
| Number and size of openings | More openings and larger units mean more flashing details and labor | Larger openings facing the water need extra attention to head flashing and drip caps |
| Frame material and glass package | Vinyl vs. fiberglass vs. clad-wood; double vs. triple pane | Corrosion-resistant hardware and stable frame materials cost more but hold up longer in salt air |
| Wall assembly complexity | Standard framing vs. complex rooflines, dormers, or multiple wall planes | More wall-plane transitions mean more flashing junctions to get right |
| Timing within the build schedule | Coordinating with framers and siding crew so flashing isn't rushed | Weather windows on an exposed coastal lot can be tighter than inland sites |
These are general cost drivers, not a quote. Every new-construction project has a different set of openings, elevations, and framing details, so we walk the plans and the site before putting a real number on the work. A phone estimate on new construction is close to useless here, since the flashing scope depends entirely on the specific openings and wall assembly.
Timing Window Installation Around the Build Schedule
New-construction windows need to go in after framing is complete and house wrap is ready, but before siding closes the wall — a narrow window in the schedule where the openings are exposed to weather and need to move from bare framing to a sealed, flashed assembly without unnecessary delay. On an exposed site like Sandy Point, that stretch is worth planning around actual weather rather than the calendar, since a stretch of driving rain hitting open framing before flashing is complete can soak sheathing that then needs to dry out before work continues. Coordinating window delivery and installation tightly with the framing and siding crews keeps that exposure window as short as possible.
Why a Crew That Already Works Sandy Point Matters
New-construction window flashing gets covered up permanently once siding goes on, which means the homeowner is trusting the installer's judgment on details nobody will ever see again without opening the wall back up. A crew that installs windows regularly on this stretch of Whatcom County coastline has already seen how driving rain off the water finds gaps in a flashing sequence, and builds the sill pans, laps, and head flashing accordingly rather than following a generic inland spec on a site that doesn't get inland conditions. That local pattern recognition is the difference between a window installation that's technically to code and one that's actually built for the site it's going on.
Get a Free, No-Pressure Estimate
If you're framing a new home or addition at Sandy Point and need window openings installed correctly the first time, we're glad to walk the plans and the site with you. Reach out using the form below to schedule a free estimate — no pressure, no upsell script.