 Blaine Siding
 New-Construction Windows Are a Different Job Than Replacement
New-construction windows are installed with a nailing fin directly into the framed rough opening, before siding or house wrap closes everything up. That's a very different job from a replacement window, which gets inserted into an existing frame after the wall is already finished. On a new build or an addition in the Bellingham area, this is actually the easier scenario to get right — but only if the crew treats the window as part of the whole water-management system, not a standalone product to snap into a hole.
Get it right at this stage and the window performs for decades with almost no maintenance. Get it wrong — a missed flashing step, a bead of sealant in the wrong place, a fin fastened before the sill pan is in — and the mistake gets buried behind siding and trim, where it won't show up until there's water damage or rot years down the line. That's the real argument for new-construction window work: the install sequence matters more than the window itself.
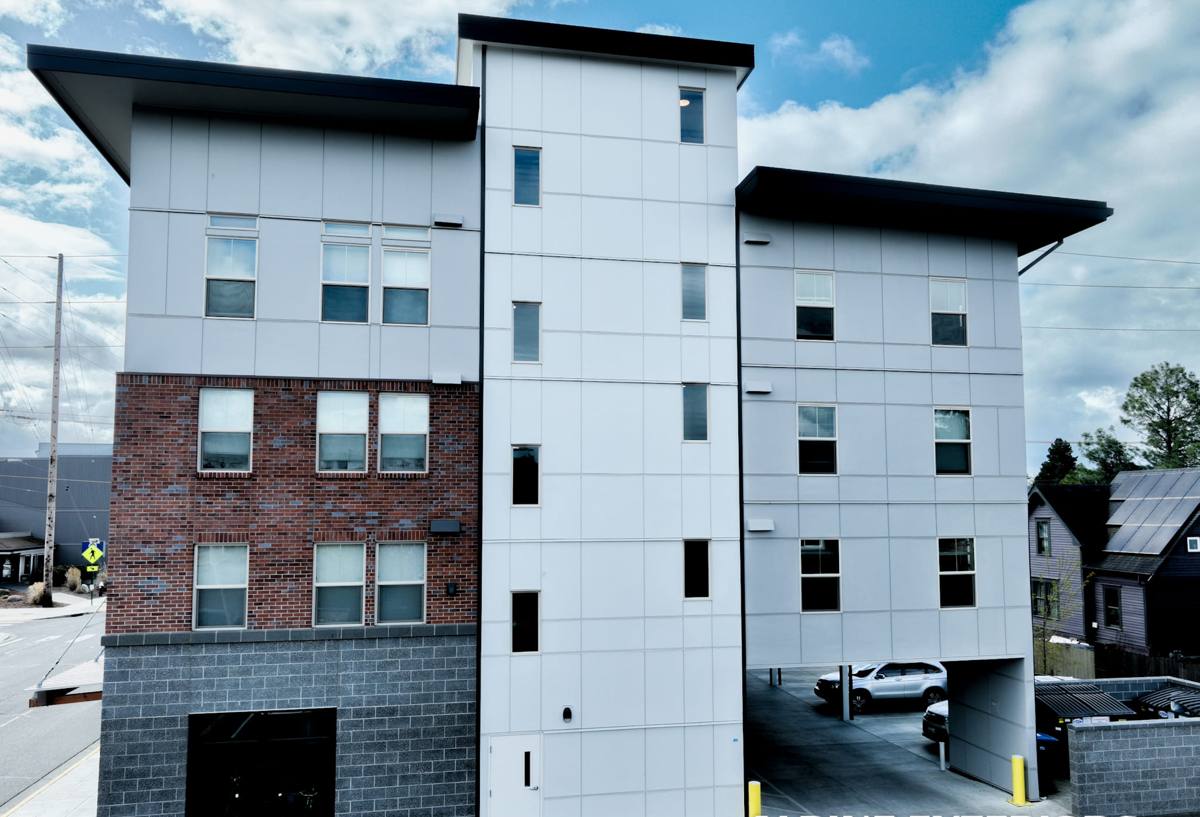
What Bellingham's Climate Actually Does to a New Window Install
Bellingham and the rest of the Blaine service area sit right up against Puget Sound and the Strait of Georgia, in a corner of Whatcom County that gets a real mix of coastal salt exposure, sustained wind-driven rain, and long stretches of shaded, damp conditions. None of that is exotic, but it's persistent — and persistent exposure is what wears out a poorly detailed window install faster than any single storm would.
Salt Air and Coastal Exposure
Homes closer to the water deal with airborne salt that settles on exterior surfaces and accelerates corrosion of unprotected metal — fasteners, hinges, cranks, and cheap flashing tape adhesives all take the hit over time. This is why hardware and flashing material selection matters more here than it would inland; it's a fastener and flashing decision as much as a window decision.
Driving Rain and Flashing Sequence
Storms coming off the water regularly push rain sideways against west- and south-facing walls. A window opening can handle that fine if the flashing is layered correctly — sill pan first, then the window, then jamb flashing, then head flashing lapped over the top, shingle-style, so every layer sheds water onto the one below it. Skip or reverse any one of those steps and water finds its way behind the siding, where it won't dry out for months.
Moss, Shade, and Prolonged Dampness
Whatcom County's long wet season and heavy tree cover on a lot of Bellingham properties mean moss and algae growth on north-facing and shaded walls is normal. It's mostly cosmetic on siding, but around windows it's a signal worth paying attention to — moss holding moisture against a sill or trim board for weeks at a time will eventually find any gap in the sealant or flashing. A correctly flashed, well-caulked window resists this; a sloppy one won't.
What a Correct New-Construction Window Install Actually Involves
Nail Fin vs. Flush Fin Windows
Most new-construction windows in this region use a nailing fin that fastens to the sheathing before house wrap and siding go on. Flush-fin (also called "block-frame" or no-fin) windows are sometimes used when a builder wants a different trim reveal or is matching an existing detail on an addition — they require a different flashing approach built around the rough opening itself rather than the fin. Either can be installed correctly; the choice depends on the wall assembly and trim design, not on which is "better."
The Flashing and Water Management Sequence
This is the part that actually determines whether a window leaks in five years. In order: the rough opening gets sloped and a sill pan is installed so any water that does get past the window drains back outward, not into the wall cavity. The window goes in, gets shimmed level and plumb, and is fastened per the manufacturer's schedule — not just wherever it's convenient. Jamb flashing tape goes over the side fins, then head flashing laps over the top and over the housewrap above it, so every layer drains onto the one below. Sealant goes only where the manufacturer specifies, never as a substitute for proper flashing.
Choosing the Right Window for the Wall
| Frame Material | Coastal / Salt Air Performance | Maintenance | Typical Fit |
|---|---|---|---|
| Vinyl | Good — won't corrode or rot, though very dark colors can absorb heat and stress the frame over time | Low — occasional cleaning | Most budget-conscious new builds |
| Fiberglass | Very good — dimensionally stable, holds up well to temperature swings and moisture | Low | Homes wanting durability with a slimmer sightline |
| Wood-clad (exterior clad) | Fair — the exterior cladding resists weather well, but any breach at joints or fasteners exposes wood beneath; sensitive to installation quality near salt air | Moderate — watch cladding seams and sills | Homes prioritizing an interior wood look |
| Aluminum | Poor near salt air unless marine-grade and well-finished — prone to corrosion and condensation without thermal breaks | Higher | Rarely our recommendation for this climate |
We don't push one brand as universally correct. What we do push is matching the frame material and glass package to the wall's actual exposure — a north-facing wall under trees has different needs than a west wall catching the full brunt of a Sound storm.
Glass Packages Worth Asking About
For this climate, a double-pane unit with Low-E coating and argon gas fill is the practical baseline — it cuts heat loss during our cold, wet winters and reduces interior condensation on cold glass surfaces, which is a common complaint in older Whatcom County homes. Triple-pane is available and does perform better thermally, but it adds weight and cost that isn't always justified unless the wall is taking direct, sustained weather exposure or the homeowner has specific energy goals.
Our Process for New Bellingham-Area Builds
- Plan review and rough-opening check. We confirm rough opening sizes match the window schedule before anything ships, so there's no field-cutting or shimming surprises.
- Sill pan and flashing prep. Every opening gets sloped sill flashing before the window goes anywhere near it.
- Window set, level, and fasten. Shimmed plumb and level, fastened per manufacturer spec — not just "close enough."
- Jamb and head flashing, shingle-lapped. Each layer overlaps the one below so water always sheds outward and down.
- Interior and exterior seal check. We verify sealant only where it belongs — proper flashing does the water-shedding work, sealant backs it up.
- Final walkthrough with the builder or homeowner before siding closes the wall, so any question can be answered while the opening is still visible.
Checklist: What to Confirm Before Windows Go In
- Rough openings match the approved window schedule, not field-adjusted sizes
- Sill pan flashing is installed and sloped to drain outward
- Fastener and flashing tape materials are rated for coastal/salt exposure, not generic interior-grade products
- Flashing sequence is shingle-lapped (sill, jamb, then head) — not sealant used as a shortcut
- Glass package (Low-E, gas fill) is specified in writing, not just "standard glass"
- Manufacturer's fastening schedule is followed, not a generalized nailing pattern
- A pre-siding walkthrough happens while the opening is still open for inspection
Mistakes We Regularly Correct on Other Crews' Work
The most common issue we see when we're brought in to fix a leak or a callback isn't a bad window — it's a rushed or reversed flashing sequence. Head flashing installed under the house wrap instead of over it, sealant used in place of a sill pan, or fasteners driven through the fin without pre-drilling on cold vinyl, cracking the flange. On a new build these mistakes are cheap to avoid and expensive to fix once siding and interior finish are in. That's the case for slowing down at this stage rather than treating window install as a fast pass between framing and siding.
Why Hire a Crew That Already Works Bellingham and Whatcom County
A window install detail that works fine in a dry inland climate can fail here within a few seasons if it doesn't account for driving rain and sustained coastal moisture. Crews that work Bellingham and the surrounding Blaine area regularly know which wall orientations take the worst weather, which flashing products actually hold up to salt air over time, and where moss and shade tend to create long-term moisture problems on local homes. That local pattern recognition is what keeps a new-construction window install from becoming a warranty callback five years later.
If you're building or adding on in Bellingham and want windows installed the way this climate actually requires, we're happy to walk the plans with you and give you a straightforward, no-pressure estimate — just fill out the form below.