 Blaine Siding
 Building New in California Creek Means Building for the Weather You'll Actually Get
If you're framing a new home or a major addition in the California Creek area near Blaine, the windows you choose and how they're installed will matter more than almost any other single decision on the exterior. This part of Whatcom County sits close enough to the water that salt-laden air is a daily fact of life, driving rain off the Strait comes in sideways more often than straight down, and the region's long, damp moss season keeps every north- and west-facing surface wet for weeks at a time. New-construction windows give you one real shot at getting the water management right before siding, trim, and interior finishes cover up the evidence. This page is about that one job, done right, for homes in and around California Creek.
A generic "we install windows" page can't speak to that. What follows is specific to new construction in this neighborhood: what the climate demands, what correct installation actually involves, what it costs to do it properly versus cutting corners, and why a crew that already has projects in California Creek brings something a first-time-in-the-area installer can't.
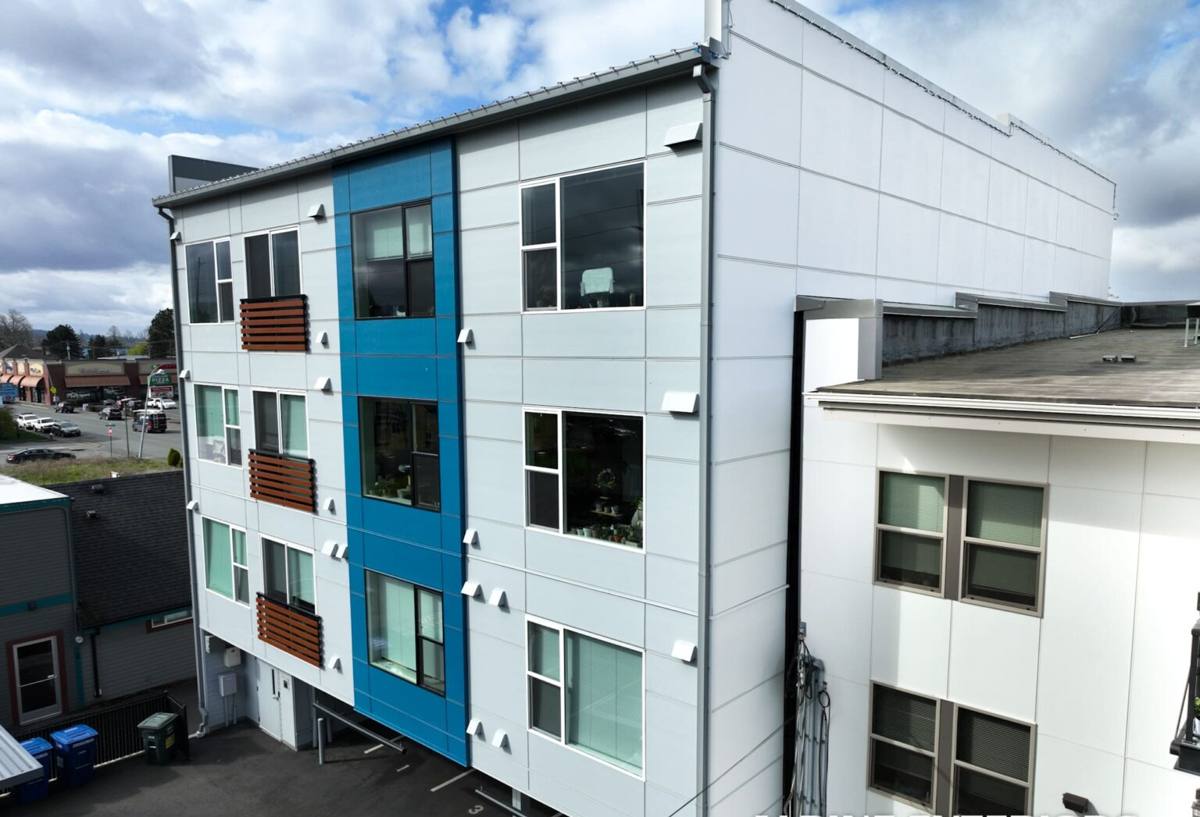
New Construction vs. Replacement: Why the Distinction Matters Here
New-construction windows are built with a nailing fin (sometimes called a flange) around the perimeter of the frame. That fin gets integrated directly into the house wrap and flashing system while the wall is still open, before siding goes on. This is fundamentally different from a pocket replacement window, which gets inserted into an existing frame with the old exterior trim staying in place. Because California Creek homes going up now are being built from the studs out, you have the option to do this the right way from day one — there's no old flashing to work around and no guesswork about what's hidden behind existing siding.
That said, "new construction" also means the window has to survive decades of exposure before anyone opens the wall again. Get the flashing sequence wrong now, and the mistake is sealed inside the wall assembly for the life of the house. That's the real stakes of this job, and it's why sequencing and materials matter as much as the window unit itself.
What Makes This a Coastal Job, Not Just a Rain Job
Plenty of window installers can handle rain. Fewer are used to designing for salt air on top of it. Salt-bearing air corrodes exposed fasteners, degrades certain sealants faster than their rated service life, and accelerates finish wear on lower-grade cladding and hardware. Combine that with the volume of wind-driven rain this stretch of Whatcom County gets off the Strait of Georgia and Semiahmoo Bay, and you get a wall assembly that's under near-constant hydrostatic and salt exposure. Add the moss and mildew that thrive in the shaded, damp conditions common on tree-lined California Creek lots, and you have three separate stresses working on the same window opening at once.
What a Correct Installation Actually Involves
Doing this job right is less about the window brand and more about what happens in the rough opening before the unit ever goes in. The sequence below is the standard we hold ourselves to on every new-construction window we set in this area.
- Rough opening inspection — confirm square, level, and correct sizing before anything is installed, and correct framing errors now rather than fighting them later.
- Sill pan flashing — a sloped, sealed pan at the base of the opening so any water that gets past the window sheds outward, not into the wall cavity.
- Weather-resistive barrier integration — house wrap cut and lapped so water always drains down and over the layer below it, never up and under.
- Window set and shim — unit set plumb, level, and square, shimmed at load-bearing points without distorting the frame.
- Nailing fin fastening — corrosion-resistant fasteners set per the manufacturer's pattern, since this is the connection point that carries wind load.
- Flashing tape over the fin — self-adhered flashing lapped correctly over the nailing fin and integrated with the house wrap above and to the sides.
- Head flashing — installed last at the top, so it laps over everything below it and directs water out and away from the opening.
- Sealant at interior and exterior — a proper backer rod and sealant joint where required, without over-sealing in a way that traps moisture instead of letting it drain.
Skip or reorder any of those steps and you can end up with a window that looks fine for years while quietly letting moisture into the wall assembly. In a climate with this much sustained damp exposure, that kind of hidden failure tends to show up as rot, stained sheathing, or a soft spot in the wall long after the builder has moved on.
Choosing Frame Materials for a Salt-Air, High-Rain Site
There's no single "best" window material for every home — it depends on your budget, your home's exposure, and how much upkeep you're willing to take on. Here's how the common options actually perform in a California Creek setting.
| Frame Material | Salt Air / Corrosion Behavior | Moisture & Moss Resistance | Typical Maintenance |
|---|---|---|---|
| Vinyl | Does not corrode; hardware and fasteners are the concern | Good; won't rot, but grime and moss can build in tracks | Periodic track and weep-hole cleaning |
| Fiberglass | Very stable; minimal expansion or corrosion issues | Excellent; dimensionally stable in wet-dry cycling | Low; occasional cleaning |
| Aluminum | Needs a quality finish/anodizing or it will pit over time near salt air | Fair; prone to condensation without thermal breaks | Finish inspection every few years |
| Wood-Clad | Cladding protects the exterior face; end grain and joints are the risk points | Vulnerable if cladding seals fail; interior wood needs a dry environment | Higher; sealant and joint checks recommended |
We don't push homeowners toward one brand or material across the board — we size the recommendation to the lot. A shaded, moss-prone lot near the creek with heavy tree cover calls for a different maintenance conversation than an open, sun-exposed site closer to the water. What we do insist on, regardless of material, is corrosion-resistant fasteners and hardware rated for coastal exposure — that detail gets skipped more often than the frame material itself, and it's usually the first thing to fail.
What This Costs, and What Drives the Range
Costs for new-construction window packages vary by opening count, size, glazing package, and frame material, so any number without context is misleading. What we can tell you honestly is what actually moves the price up or down on a California Creek job.
| Cost Factor | Why It Matters Here |
|---|---|
| Number and size of openings | More and larger openings mean more flashing detail work, not just more glass |
| Frame material | Fiberglass and wood-clad typically run higher than standard vinyl |
| Glazing package | Upgraded low-E coatings and gas fills add cost but pay off in comfort and condensation control |
| Exposure of the elevation | West- and water-facing walls often warrant a higher flashing and sealant spec |
| Site access and building stage | Installing during framing is more efficient than working around finished siding or trim |
We're upfront that the cheapest bid on a coastal new-construction job is almost always cheap because it skips flashing detail, uses standard-grade fasteners, or specs a lower-tier frame material without mentioning the trade-off. That's a decision you should make with full information, not one that gets made for you by omission.
Our Process for a California Creek New Build
We keep this straightforward because a new build already has enough moving parts.
- A site visit while the home is still framed, to walk the rough openings and confirm sizing against the plans.
- A written scope covering frame material, glazing package, and flashing details before any material is ordered.
- Coordination with your builder or general contractor on sequencing, so windows go in at the right point relative to house wrap and siding.
- Installation following the sill-pan-to-head-flashing sequence described above, on every opening, every time.
- A final walk-through where we show you the completed openings before siding closes them up for good.
That last step matters more than it sounds. Once siding goes on, the flashing work is hidden. We'd rather you see it while it's still visible than take our word for it after the fact.
What to Ask Before You Hire Anyone for This Job
Whether you hire us or someone else, ask these questions before signing a contract. A contractor who can't answer them clearly and specifically is telling you something.
- Will you show me the sill pan and flashing detail before siding covers it, or just tell me it's done?
- What fastener and sealant products do you use, and are they rated for coastal/salt-air exposure?
- Do you have current jobs or completed work in the Blaine area you can point to for reference?
- How do you handle a rough opening that's out of square or the wrong size — is that a change order surprise or part of the quoted job?
- What's the manufacturer's warranty, and what's your own workmanship warranty on the installation itself?
Why Local Experience in California Creek Specifically Matters
Whatcom County's building department, the specific wind and rain exposure on creek-adjacent and tree-shaded lots, and the practical realities of working alongside other trades on an active new build are all things you learn by doing them repeatedly in this area, not by reading a manufacturer's install manual. A crew that has already set windows on other California Creek and greater Blaine builds knows which elevations typically need the extra flashing attention, how local moisture and moss patterns tend to show up first, and how to sequence with framers, siding crews, and painters without redoing work. That familiarity shows up as fewer surprises and fewer callbacks — not as a sales pitch, just as the practical benefit of having done this exact job, in this exact place, before.
Living With New Windows in This Climate: What to Expect Afterward
Even a correctly installed window needs a little seasonal attention in this environment. Weep holes at the sill should be checked and cleared of debris and moss buildup, especially on shaded elevations, so water has somewhere to go. Exterior sealant joints are worth a visual check every year or two, since UV and salt exposure will eventually age sealant faster than it would inland. Hardware — locks, hinges, and cranks on operable units — benefits from an occasional check for stiffness or corrosion, particularly on homes closer to open water. None of this is heavy maintenance, but skipping it is how small, cheap-to-fix issues turn into expensive ones.
If you're planning windows for a new build or major addition in California Creek, we're happy to walk the site, look at your plans, and give you a straightforward, no-pressure estimate — including an honest read on what your specific lot's exposure calls for. There's a form below to get that conversation started.