 Blaine Siding
 Why New Roofs in Custer Take More Punishment Than Most
Custer sits close enough to the water that salt-laden air is a constant, low-grade stressor on anything metal — fasteners, flashing, vent caps, and drip edge all take it on the chin over time. Add in the driving rain that blows through this part of Whatcom County during fall and winter storms, often at an angle rather than straight down, and you have a climate that finds every weak seam, every short flashing lap, and every under-driven nail eventually. Then there's moss. Between the marine moisture and the shade thrown by mature conifers on a lot of Custer properties, moss doesn't just show up in a wet spell — it settles in for a season that can stretch across most of the year.
None of that means a roof here is doomed to fail early. It means the installation has to be done with those three specific stressors in mind from the first course of underlayment to the last ridge cap. A roof built the same way you'd build one in a dry inland climate will show its age in Custer years before it should.
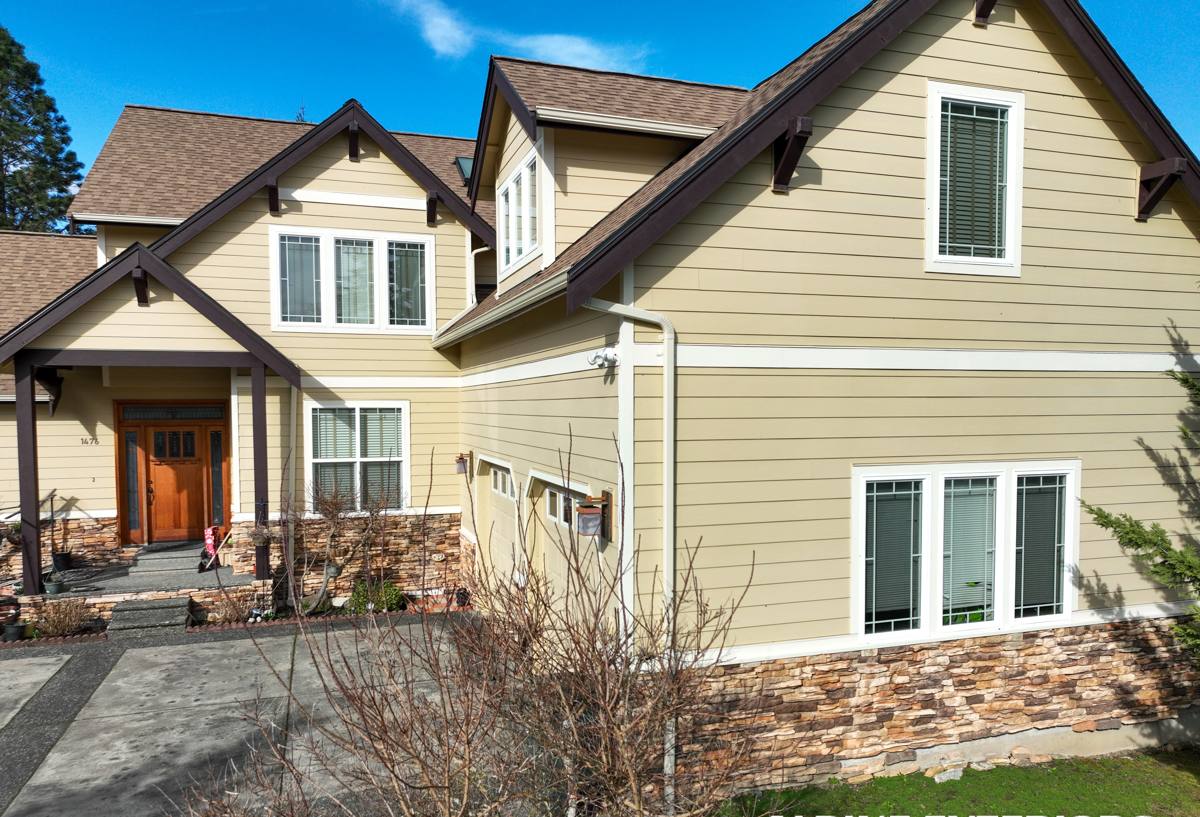
What "Correct" Roof Installation Actually Involves
A new roof is a system, not a stack of shingles. Every layer has a job, and skipping or rushing any one of them is where premature leaks and moss-driven rot start.
Underlayment and Ice-and-Water Barrier
We run a fully adhered ice-and-water membrane at eaves, valleys, and around every penetration — chimneys, plumbing stacks, skylights — because those are the spots where wind-driven rain gets pushed backward under standard shingle laps. Over the rest of the deck, a synthetic underlayment gives the roof a second line of defense that actually holds up to repeated wet-dry cycling better than old-style felt, which tends to degrade faster under Whatcom County's moisture load.
Flashing Details
Flashing is where most roof failures actually start, not in the field of the shingles themselves. Step flashing at walls, counter-flashing at chimneys, and properly lapped valley metal all need to be installed in the correct sequence with the underlayment and siding — not caulked together as an afterthought. Caulk is a maintenance item, not a waterproofing strategy, and driving rain will find any joint that relies on it alone.
Ventilation
A roof deck that can't breathe traps moisture underneath it, which speeds up sheathing rot and gives moss and algae a damp surface to establish on from below as well as above. Balanced intake at the soffits and exhaust at the ridge keeps air moving through the attic space so the deck can dry out between storms instead of staying saturated.
Choosing the Right Roofing Material for a Custer Property
There isn't one "best" roofing material for every home — it depends on your roof's exposure, how much shade it gets, your budget, and how long you plan to own the home. Here's how the common options stack up against the specific conditions Custer homes deal with.
| Material | Salt Air Durability | Moss Resistance | Typical Lifespan | Maintenance |
|---|---|---|---|---|
| Architectural asphalt shingle | Good, with corrosion-resistant fasteners and flashing | Moderate — benefits from zinc/copper strips or regular cleaning | 25–35 years | Low to moderate |
| Standing seam metal | Very good with the right coating and fastener spec | Excellent — moss struggles to grip a smooth metal surface | 40–60 years | Low |
| Cedar shake | Fair — needs regular treatment near salt exposure | Poor without diligent upkeep | 20–30 years | High |
| Synthetic composite shake/slate | Very good | Good | 40–50 years | Low |
For most Custer homes, we steer people toward architectural asphalt or standing seam metal, because both hold up well against the salt air and either can be detailed to shed moss-friendly moisture instead of holding onto it. Cedar shake can still be the right call on the right home, but we'll tell you honestly that it asks more of you in upkeep than the alternatives, especially with the shade cover many of these lots have.
Our New Roof Installation Process
The steps don't change much from job to job, but the details inside each step get adjusted for your specific roof, exposure, and tree cover.
- On-site inspection and measurement. We check the deck for soft spots, evaluate existing ventilation, and note anything — chimneys, skylights, dormers — that changes the flashing plan.
- Material selection and written estimate. We go over the material comparison in plain terms, including what fits your budget and how much upkeep each option realistically requires.
- Tear-off and deck inspection. Old roofing comes off down to the deck so we can see the actual condition of the sheathing, not guess at it.
- Deck repair as needed. Any rotted or delaminated sheathing gets replaced before anything new goes down — new roofing over a compromised deck just hides the problem.
- Ice-and-water membrane and underlayment. Installed at eaves, valleys, and penetrations first, then across the full deck.
- Flashing, drip edge, and roofing material installation. Installed in the correct layered sequence, not caulked together after the fact.
- Ventilation tie-in. Ridge and soffit ventilation are checked and corrected so the finished system actually balances.
- Final walkthrough and cleanup. Magnetic sweep for stray fasteners, full site cleanup, and a walkthrough so you know exactly what was done and why.
Ventilation and Moisture Control: The Part Homeowners Don't See
Most roof complaints we hear about aren't about the shingles themselves — they're about what's happening underneath them. A poorly ventilated attic in a marine climate like this one condenses moisture on the underside of the deck, which softens sheathing, feeds mold, and shortens the life of the roofing material from below at the same time moss is working on it from above. Getting the intake-to-exhaust ratio right, and making sure insulation isn't blocking the soffit vents, is one of the least visible but most important parts of a correct installation. It's also one of the easiest things for a rushed job to skip, because nobody standing in the yard can tell just by looking whether it was done right.
Signs Your Custer Home Needs a New Roof, Not a Repair
Not every roof problem calls for full replacement. But a few signs usually mean patching is just delaying the inevitable:
- Granule loss heavy enough that you can see bare asphalt on multiple shingles, not just a few spots
- Daylight visible through the roof deck from inside the attic
- Soft or spongy spots when walking the roof, indicating deck rot
- Moss that keeps returning within a season or two of cleaning, even after treatment
- Multiple past repairs in different areas rather than one isolated issue
- Shingles that are curling, cracking, or losing their seal along a large portion of the roof
- Flashing that's rusted, separated, or was never properly integrated with the roofing in the first place
- Your roof is approaching or past the expected lifespan for its material, especially if it's never had a full tear-off
Fasteners, Flashing Metal, and Salt Air: Small Details That Matter
This is where a lot of roofs quietly fail years ahead of schedule, and it's almost never visible from the ground. Standard fasteners and lower-grade flashing metal can start corroding faster in a salt-influenced coastal air than they would further inland, and once a nail head or a flashing seam starts to go, water finds its way in long before you'd notice a leak inside the house. We spec corrosion-resistant fasteners and flashing metal on Custer installations as a standard practice, not an upgrade — it's a small cost difference at install time against a much bigger cost if flashing has to be redone in ten years instead of thirty.
Permits, Timeline, and What to Expect During the Project
A full re-roof in Whatcom County typically requires a building permit, and we handle that process as part of the job so you're not left figuring out county requirements on your own. Most single-family re-roofs take one to a few days on-site depending on the size, pitch, and material, though weather windows in this region mean we watch the forecast closely and won't tear off a roof if a soaking system is about to move through. We'll walk you through the realistic timeline for your specific project before work starts, including how weather could shift it, so there are no surprises mid-job.
Why a Crew That Already Works Custer Makes a Difference
A roofing crew that only occasionally works this part of Whatcom County treats every job as a one-off. A crew that regularly works Custer and the greater Blaine area already knows how the salt air affects fastener choice, how the tree cover on a lot of these properties drives moss growth, and how the region's driving rain exposes weak flashing that would go unnoticed somewhere drier. That familiarity shows up in fewer callbacks, not in anything flashy — just a roof that was detailed correctly the first time because the crew has seen exactly how this climate finds shortcuts.
If you're weighing a new roof for your Custer home, we're glad to take a look and walk you through what your specific roof needs — no pressure, no sales script. Use the form below to request a free estimate.