 Blaine Siding
 New-Construction Windows for Lynden-Area Builds
Lynden sits inland from Blaine but still shares the same weather system that comes off the Strait of Georgia and rolls across Whatcom County — salt-laden air, long stretches of driving rain, and a moss season that seems to run longer every year. When we install new-construction windows on a Lynden-area home, we're not just setting glass in an opening. We're building the first line of defense against water intrusion into a wall system that, if done wrong, won't show a problem for two or three years — by which time it's rot, not a warranty callback.
"New-construction" windows are different from replacement windows in one important way: they have a nailing flange (also called a nail fin) that gets integrated directly into the house wrap and flashing system before siding goes on. That flange is either your best friend or your biggest liability, depending on how it's flashed. This page is about doing that one part of the job correctly, on this side of the county, in this climate.
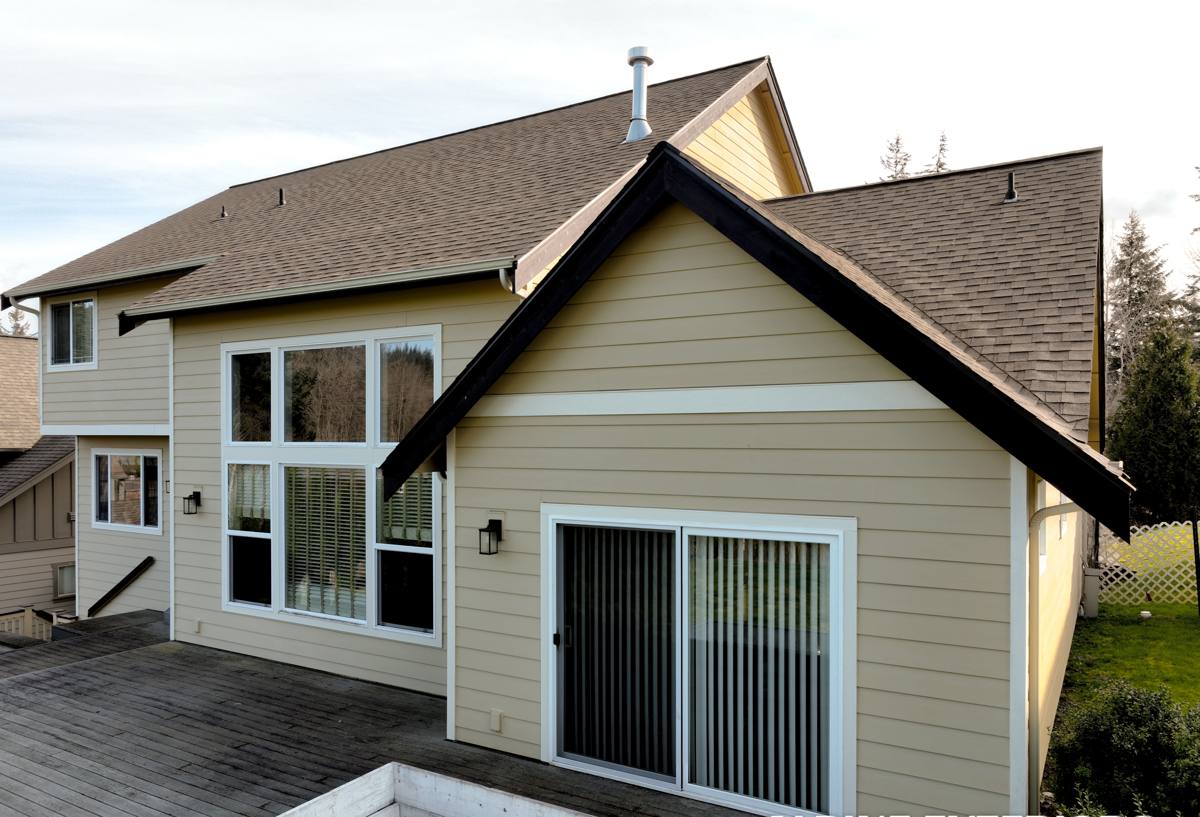
Why Whatcom County Weather Changes the Job
Driving rain and wind-driven moisture
Northwest Washington doesn't get hurricane-force wind, but it gets sustained, sideways rain for days at a time in fall and winter. That kind of weather pushes water into places a light afternoon shower never would — up under a poorly lapped flashing, sideways through a gap in sill pan caulking, behind a window that was set without a sloped sill pan at all. A window flashing detail that "would probably be fine" in a drier climate is a real risk here.
Salt air and hardware life
Blaine and the Lynden corridor are close enough to the water that salt air is a factor, especially on the exterior-facing hardware, fasteners, and any exposed metal flashing. We favor corrosion-resistant fastener types and flashing materials for this reason — it costs a little more up front and saves a callback five years out.
Moss season and prolonged dampness
Moss doesn't grow on windows, but it's a good indicator of how long surfaces stay wet in this region. A window sill or head flashing that holds moisture instead of shedding it will grow the same green film you see on a north-facing roof — and that dampness sitting against wood trim or OSB sheathing for months at a time is exactly what leads to rot around window openings. Detailing that sheds water fast, every time, matters more here than in a drier part of the state.
What a Correct New-Construction Window Install Actually Involves
This is the part most homeowners never see because it's covered by siding within days. It's also the part that determines whether the window performs for 20+ years or becomes a hidden moisture problem.
The sequence, in order
- Rough opening check — squared, correctly sized, and dry before anything goes in.
- Sloped sill pan — a pan flashing that slopes to the exterior so any water that gets past the window has somewhere to go besides the framing.
- Back-dam or end dams — a small raised lip at the interior edge and ends of the sill pan so water can't run back into the wall cavity.
- Window set and shimmed level, fastened per the manufacturer's schedule — not just "enough nails to hold it."
- Jamb and head flashing, integrated shingle-style with the weather-resistive barrier (WRB) — each layer overlapping the one below it, never the reverse.
- Sealant at the right points only — sealing everything is actually a mistake; a fully sealed sill traps any water that does get in instead of letting it drain back out.
- Interior air-sealing — a separate step from exterior weatherproofing, done with low-expansion foam or backer rod and sealant, for energy performance.
Skip or shortcut any one of these steps and the window can look perfect for years while quietly feeding water into the wall assembly. This is why we treat window flashing as a sequence with a specific order, not a checklist to knock out fast.
Common mistakes we see and correct
- Flat or reverse-sloped sill pans that hold water against the sill instead of shedding it
- House wrap taped over the top flange before the sides and bottom are properly lapped underneath it
- Caulk used as the primary water barrier instead of proper flashing — caulk fails; flashing geometry doesn't
- Wrong fastener type for the cladding and climate, leading to corrosion staining or loosening over time
- No back-dam, so any water that gets past the window runs straight into the framing below
Product Options for New Construction
For new builds, you're not locked into replacing a specific frame type — you get to choose based on performance and budget from the start. The right call depends on the home's design, budget, and how much upkeep the owner wants to take on.
| Window Type | Typical Use | Maintenance | Notes for This Climate |
|---|---|---|---|
| Vinyl | Most new builds, cost-conscious projects | Low | Good moisture tolerance; verify frame reinforcement on larger openings |
| Fiberglass | Higher-end new construction | Low | Dimensionally stable in temperature swings; strong long-term option |
| Wood-clad (exterior clad, wood interior) | Custom/traditional-style homes | Moderate | Cladding protects exterior from moisture; interior wood needs normal upkeep |
| Aluminum | Modern designs, larger spans | Low-Moderate | Thermal break quality matters more here than in drier climates |
We'll talk through the trade-offs for your specific project rather than push one product line — the flashing and installation quality matters more to long-term performance than the frame material alone.
How Our Process Works on a New-Construction Job
Coordinating with your builder or GC
Window installation on a new build has to happen at exactly the right point in the sequence — after the WRB is on, before the siding starts. We coordinate directly with the general contractor or builder's schedule so there's no gap where the opening sits exposed to weather, and no rework because siding started before the window flashing was signed off.
What we check before we call it done
- Every sill pan slopes correctly and has a back-dam
- WRB lap order is shingle-correct at every window (bottom-to-top, side-to-side)
- Fastening matches the manufacturer's schedule for wind and structural load
- Sealant is placed only where it should be, not as a blanket fix
- Interior air-sealing is complete and separate from exterior weatherproofing
- Rough opening dimensions match window sizes with correct shim gaps throughout
We photograph flashing details before they're covered by siding, since that's the one point in the build where the work is fully visible. It gives the homeowner and builder a record of what's behind the wall.
Why a Locally Experienced Crew Matters Here
Window flashing details that work in Phoenix or even Seattle proper don't always hold up the same way in the Lynden and Blaine corridor. A crew that's worked new-construction projects across Whatcom County knows how much water this area actually sees in a wet winter, how salt air affects fastener choice near the water, and how long moisture sits on north- and west-facing walls during moss season. That's not something you get from a manufacturer's install manual alone — it comes from having flashed windows on homes in this specific weather pattern and having gone back to check on them years later.
We also know the local building department's inspection expectations for window rough-in and flashing sign-off, which keeps the framing and siding schedule moving instead of stalling on a failed inspection.
Cost Factors for New-Construction Window Installation
Every project is different, but the main variables that move the price are consistent from job to job:
| Factor | Why It Matters |
|---|---|
| Number and size of openings | More openings and larger spans mean more flashing detail work and material |
| Window product tier | Vinyl, fiberglass, and wood-clad carry different material costs |
| Wall assembly complexity | Rainscreen systems, multiple WRB layers, or unusual siding transitions add labor |
| Access and building height | Second-story and hard-to-reach openings take longer to flash correctly |
| Scheduling coordination | Tight builder timelines sometimes require additional crew to hit a phase deadline |
We'll give you a clear, itemized number after walking the plans or the framed structure — not a rough guess based on square footage alone.
Get a Straight Answer for Your Lynden-Area Build
If you're framing a new home in or around Lynden and want window flashing done right the first time — sloped sill pans, correct WRB integration, and hardware that holds up to salt air and driving rain — we're happy to walk the plans with you or meet on site once framing is up. Reach out for a free, no-pressure estimate using the form below.