 Blaine Siding
 Siding Repair in Lynden: Fixing the Cause, Not Just the Symptom
Lynden sits inland from the water compared to towns like Blaine or Birch Bay, and a lot of homeowners here assume that distance buys them some protection from the weather that chews up exterior materials closer to the coast. It helps, but it doesn't exempt Lynden from the same basic climate pattern that runs across Whatcom County: marine air that carries salt further inland than most people expect, rain that arrives sideways instead of straight down through fall and winter, and long stretches of mild, damp weather that keep moss and mildew active on shaded walls for most of the year. Siding repair calls in Lynden follow a pattern shaped by that climate, and fixing them correctly means understanding it rather than just patching whatever's visible from the driveway.
We're based in Blaine and work this stretch of Whatcom County regularly, which means Lynden siding repair isn't an occasional stop between bigger jobs elsewhere — it's routine territory. That matters for a repair call specifically, because diagnosing why siding failed in the first place depends on knowing how local wall exposures behave, not just what a manufacturer's spec sheet says in general.
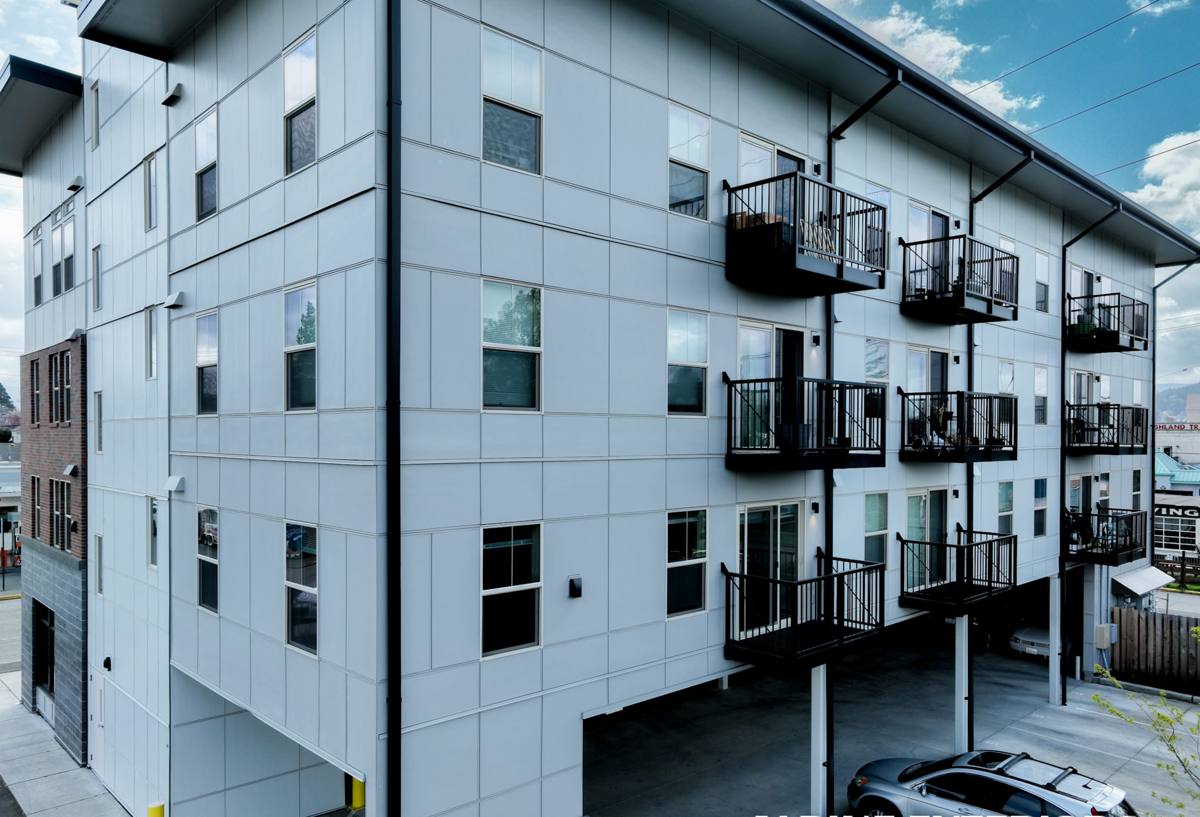
What Lynden's Climate Does to Siding Over Time
Salt Air, Even Set Back From the Water
Salt-laden air moves inland across this part of the county on winter storms, and it doesn't stop working just because a property sits a few miles from Semiahmoo Bay or Drayton Harbor. Over years, it accelerates corrosion on fasteners, flashing, and lower-grade trim hardware. A corroding fastener doesn't just look bad — it loses holding strength and can open a small gap where it penetrates the siding, which is exactly the kind of entry point that turns into a repair call a few years down the line.
Driving Rain
Rain through the wetter months in this region rarely falls straight down. Wind pushes it sideways into siding laps, trim joints, and the transitions where a roof meets a wall. That sideways load tests details that were only ever designed to handle water moving downward, and it's usually where we find the actual point of entry on a repair call — not always where the visible damage shows up.
A Long Moss Season
Lynden's mix of open farmland and tree-lined residential lots means moss and mildew exposure varies a lot from wall to wall on the same property. A south-facing wall in the open dries out between rain events; a shaded, north-facing wall against a tree line can stay damp for weeks at a stretch. Moss holds moisture against whatever it's growing on, and on porous or lightly sealed siding materials that constant dampness is often what starts the deterioration a repair crew eventually gets called to fix.
Common Signs a Lynden Home Needs Siding Repair
Most siding damage doesn't show up as an obvious hole or a board falling off the wall. It shows up as smaller signals that are easy to write off until they've been developing for a while. Worth checking for, especially on shaded or water-facing walls:
- Soft or spongy spots when you press on the siding, which usually means moisture has already reached the substrate underneath
- Visible cupping, warping, or bowing in individual boards or panels
- Persistent moss or dark staining that keeps coming back after cleaning, particularly along the lower courses or under roof lines
- Cracked, chipped, or delaminating edges, especially at cut ends and around trim
- Bubbling or peeling paint that keeps recurring in the same spot year after year
- Gaps opening up at trim, corner boards, or window and door casings
- Rust streaking below fasteners or flashing, a sign that hardware is starting to corrode
- Loose panels or boards that flex or rattle in wind
Any one of these on its own might be minor. Several together, especially on the same wall, usually mean water has been getting behind the siding for a while and the wall assembly underneath needs a look, not just the surface.
Repair, Patch, or Replace? Matching the Fix to the Damage
Not every siding problem calls for the same scope of work, and an honest contractor should be telling you which category your damage actually falls into rather than defaulting to whichever job pays the most. The table below is a general guide — every property still needs an in-person look before we commit to a scope.
| Situation | Typical Fix | What Drives the Decision |
|---|---|---|
| A few damaged boards on an otherwise sound wall | Spot repair — remove and replace the affected pieces | Surrounding siding is dry, undamaged, and the underlying sheathing is sound |
| Damage concentrated on one wall or elevation | Section replacement for that elevation | The problem traces to a specific exposure (a bad flashing detail, a wet wall orientation) rather than the whole house |
| Damage scattered across multiple walls or recurring after prior repairs | Full re-side | Repeated moisture intrusion suggests the original installation or material is failing broadly, not in isolated spots |
| Cosmetic wear with no moisture penetration | Cleaning, caulking, or repainting rather than replacement | Substrate is dry and sound; the issue is surface-level only |
The honest version of this conversation sometimes means telling a homeowner their damage is minor and doesn't need the scope they were expecting — and sometimes it means telling them a patch would be a short-term fix on a problem that's going to keep resurfacing.
What a Correct Siding Repair Actually Involves
Diagnosing the Cause First
The most common mistake in siding repair is replacing the damaged board without figuring out why it failed. If the cause was a missing kick-out flashing, a gap in the water-resistive barrier, or a grade that's too close to the bottom of the siding, a new board in the same spot will fail again on the same timeline. A correct repair starts with identifying the entry point and the underlying cause, then checking the sheathing and framing behind the visible damage for hidden moisture before any new material goes on.
Matching Materials Correctly
On James Hardie fiber cement siding, repairs done right use the correct replacement profile and, where color match matters, the corresponding ColorPlus factory finish rather than a field-applied paint that will visibly age differently over time. On homes with other existing siding materials — vinyl, wood, or engineered wood siding that's already on the house — we can do a targeted, honest repair to address the immediate problem. Where that material is showing the same kind of widespread moisture damage in multiple spots, we'll say so plainly rather than quietly patching the same failure point every couple of years.
Flashing and Moisture Management
A repair that doesn't correct the flashing or water-resistive barrier detail that let water in isn't really a repair — it's a delay. Correcting the sequencing at the affected area, so the barrier laps the right direction and any flashing sheds water outward and down, is what actually stops the problem instead of just replacing its symptom.
Fasteners and Hardware
Given how much salt-laden air moves through this part of the county, repair work uses corrosion-resistant fasteners rather than whatever's cheapest, and existing corroded fasteners found near the repair area get replaced rather than left in place to keep failing.
Repairing What's There vs. What We Install Going Forward
We install James Hardie fiber cement siding exclusively on new work and full re-sides — that's a professional standard we hold to, not a sales pitch, and it's rooted in watching how differently materials perform in this climate over the long run. Repair calls are a different situation: a homeowner with existing vinyl, wood, or engineered wood siding still deserves an honest, competent repair rather than being pushed into a full re-side they don't need yet. What we won't do is quietly install a non-Hardie replacement panel as part of a repair and call it a long-term fix. If a repair on non-Hardie siding is genuinely the right call, we'll do it. If the underlying material has reached the point where repeated repairs are just delaying an inevitable full re-side, we'll tell you that directly, and James Hardie is what we'd recommend for that next step.
Our Repair Process, Start to Finish
- On-site inspection of the damaged area and a broader check of the rest of the exterior, since visible damage in one spot often points to a condition affecting nearby walls too
- Diagnosis of the actual cause — moisture entry point, hardware failure, or material breakdown — not just the visible symptom
- A written scope explaining what we found, what we recommend, and why, including whether a targeted repair or a broader fix is the right call
- The repair itself: removing affected material, addressing the underlying flashing or barrier issue, and installing correctly matched replacement material
- A final check of the completed work and the surrounding area before we consider the job done
Why a Crew That Already Works Lynden Regularly Matters
Diagnosing siding damage accurately depends on understanding how a specific property's walls behave — which elevation catches the wind-driven rain, which side stays shaded and damp longest, how far salt air realistically reaches inland on a given lot. That's the kind of knowledge that comes from working this area repeatedly, season after season, rather than bidding a job from an office somewhere else and moving on. Being based in Blaine and treating Lynden as regular territory means we're making these calls with a working understanding of the local exposure, not a generic checklist, and it means we're still around if a warranty question or a follow-up comes up years later.
If you're seeing soft spots, recurring staining, or damage that keeps showing up in the same place on your Lynden home, we're happy to take a look, explain what we find in plain terms, and give you an honest read on whether it's a patch, a section repair, or something bigger. Reach out below for a free, no-pressure estimate.